


Using Calendar
Calendar is a desktop application that enables you to schedule appointments and To Do items, set reminders, make and print appointment and To Do lists, browse other calendars, and schedule group appointments.
Calendar Startup
You can start Calendar in one of two ways:
Calendar Main Window
The menus and tool bar controls are at the top of the main window. The selected Calendar view is displayed in the lower part of the main window.
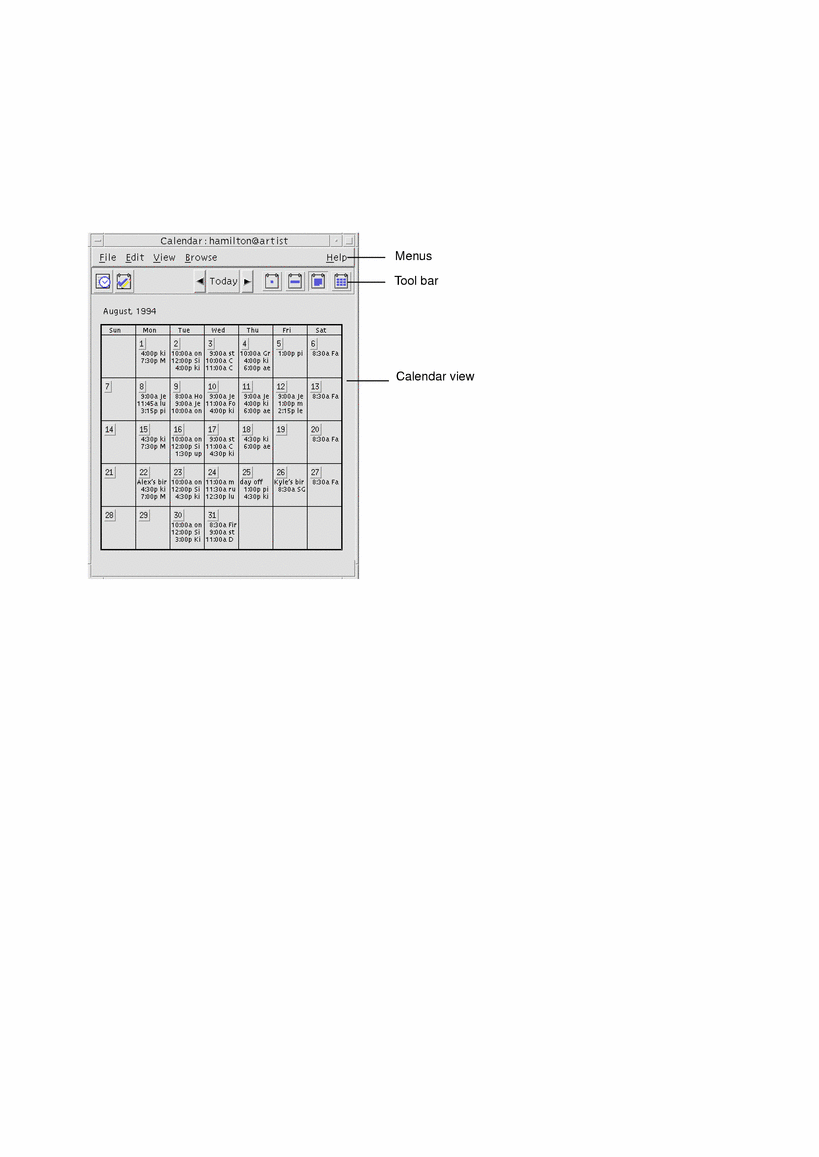
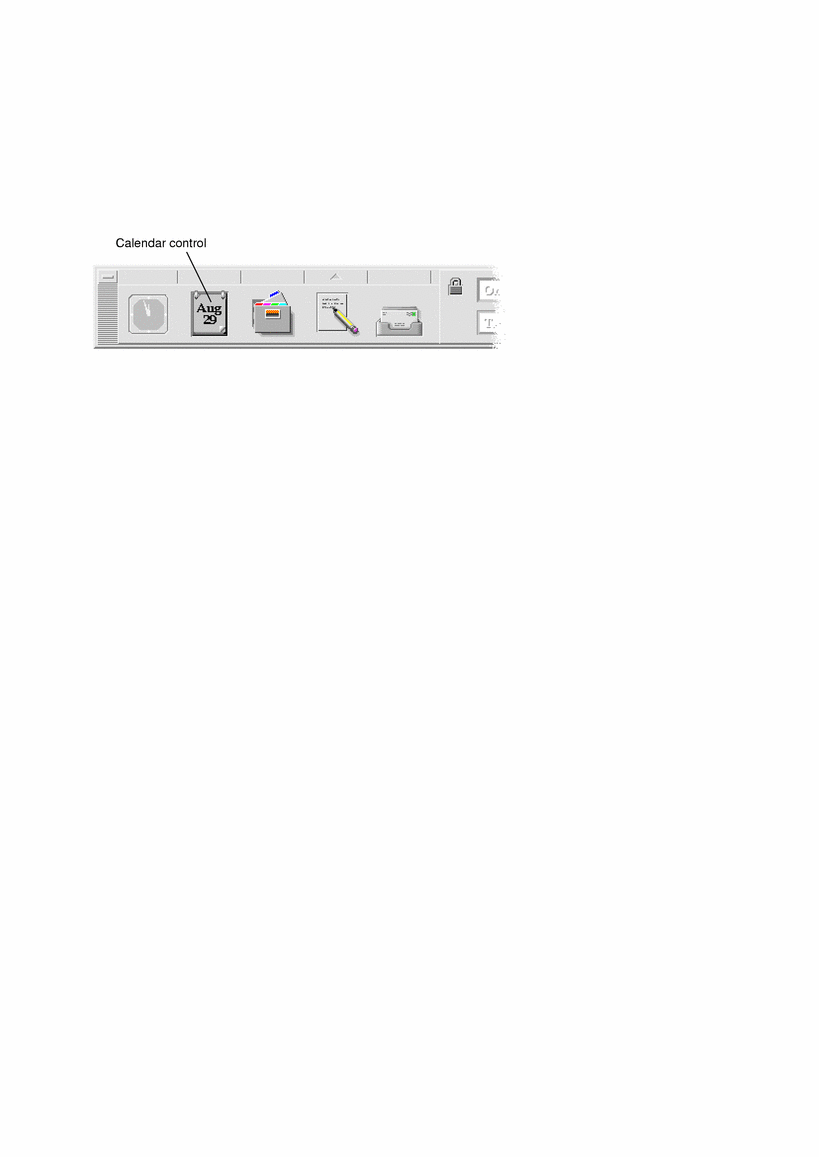
Calendar Tool Bar
Calendar's tool bar provides controls for quick navigation through calendars. The tool bar controls and their functions are described in Table 13-1.
Table 13-1 Calendar Tool Bar Icons
Control | Function |
|---|---|
 | Appointment Editor icon opens the Appointment Editor so you can insert, delete, or edit Calendar appointments. |
 | To Do Editor icon opens the To Do Editor so you can create, modify, update, or set reminders for things you have to do. |
 | Previous View arrow changes the Calendar view to display the view before the current view. For example, if you are viewing August in Month view, clicking the Previous View arrow changes the Calendar display to July. |
 | Today changes the Calendar view to display the current day in the format you are viewing. For example, if you are viewing by month, clicking Today displays the current month. |
 | Next View arrow changes the Calendar view to display the view after the current view. For example, if you are viewing August in Month view, clicking the Next View arrow changes the Calendar display to September. |
 | Day View icon displays the calendar you are viewing with one day's appointments in the window plus a three-month mini-calendar. |
 | Week View icon displays the calendar you are viewing with a week's appointments in the window plus a week grid showing scheduled times. |
 | Month View icon displays the calendar you are viewing with a month's appointments in the window. |
 | Year View icon displays the calendar you are viewing with a year in the window. Appointments are not displayed. |
Calendar Views
The Calendar view is the day, week, month, or year displayed in the main Calendar window.
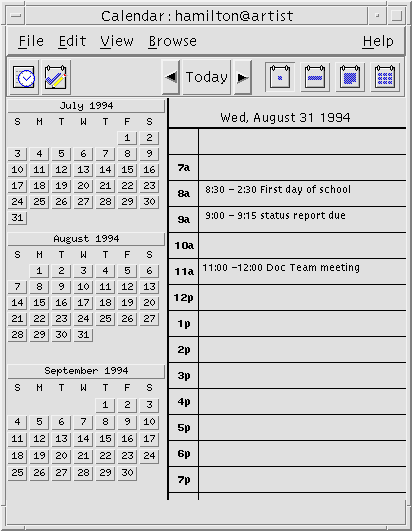
Day View
Day view displays the calendar you are viewing with one day's appointments in the window. Day view also provides a three-month mini-calendar that displays the month you are viewing and the previous and next months.
Clicking on a day in the three-month mini-calendar changes the Day view to display the selected day. Clicking on a month name in the mini-calendar changes the Calendar display from Day view to Month view.
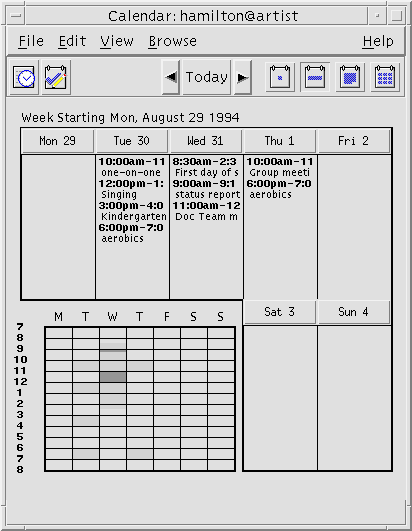
Week View
Week view displays the calendar you are viewing with one week's appointments in the window. The selected day is highlighted.
Week view also provides a week grid showing at a glance the times that are scheduled (shaded) and the times that are available (unshaded).
Clicking on a day name in the Week view changes the Calendar display from Week view to Day view.
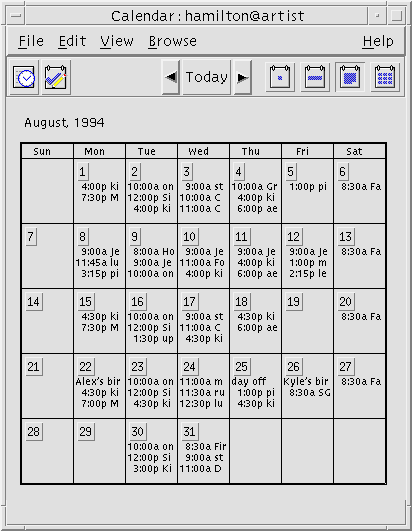
Month View
Month view displays the calendar you are viewing with one month's appointments in the window. The selected day is highlighted.
Clicking on a day in Month view changes the Calendar display to Day view.
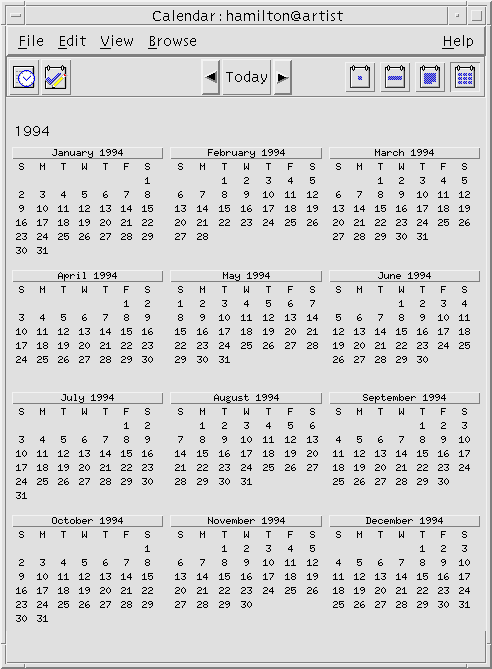
Year View
Year view displays a year calendar. Appointments are not displayed. Clicking on a month name in Year view changes the Calendar display to Month view.
Appointments
Use the Appointment Editor to insert, change, or delete appointments on your calendar.
 To Schedule a Basic Appointment
In Day, Week, or Month view, display the day for which you want to schedule an appointment.
Double-click that day to open the Appointment Editor.
Choose the Start and End times.
The default appointment duration is one hour. If your appointment is longer or shorter, edit the time in the End field.
Type a description of the appointment in the What field.
For example, you may want to enter the appointment's location and purpose.
If you want to add optional settings to an appointment, see "To Set Appointment Options".
Click Insert.
The appointment is added to your calendar.
Click Cancel to close the Appointment Editor.