Viewing the Log
The third tab in the PDA Sync application lets you view the activity log for each synchronization. This area consists of a vertical and horizontal scrolling read-only text field, which displays a real-time log of a sync or install operation. Refer to the following figure.
Figure 22-16 Viewing the Log
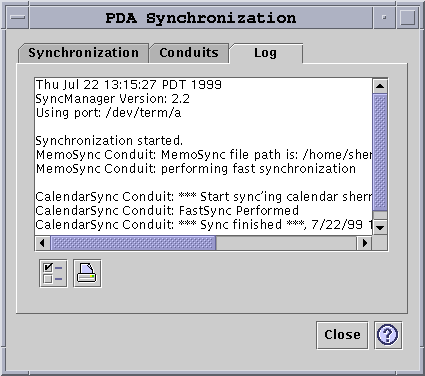
By default, the top of the log is displayed at the top of the data window. Because the log file can be appended (see Log Properties dialog in the next section), the top of the current log may be at the bottom of the file. This means that the scroll bar may be at the bottom of the window when the log is displayed; scrolling up reveals previous logs.
By default, the date on which the sync operation is performed is displayed at the top and bottom of the current log. Time stamp information is added as appropriate. You can also choose to show full debugging information in the log through an option on the Log Properties dialog.
If a failure occurs during a synchronization operation, the log is displayed automatically. At the time the failure occurs, the system beeps, the log shows where the failure occurred, and the sync operation is aborted. These entries usually give as much information as is reasonable to provide. You may also turn on debugging information in the Log Properties dialog in order to troubleshoot. After a failure occurs, the application does not minimize itself, regardless of the "Iconify application window after synchronization" setting in the Application Properties dialog.
Printing the Log
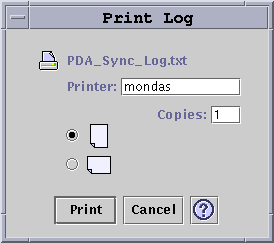
The log is saved to disk as a text file. The log file can also be printed. Refer to the following figure.
Figure 22-17 Printing the Log
Starting Synchronization
The PDA Sync application is available as an icon on the Common Desktop Environment (CDE) desktop. It is activated when you first log in. When you exit the application, restart it manually in order to perform synchronization again.
The following figure shows that the application is ready to synchronize, as indicated by the status line. At this point, you may press the sync button on your organizer's cradle.
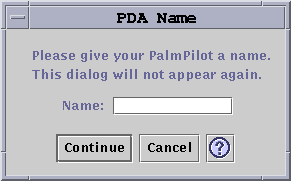
If you are synchronizing for the first time after installing PDA Sync, a dialog box appears asking you to name your organizer. If your organizer already has a name, this dialog box does not appear. Refer to the following figure.
Figure 22-18 Naming Your PDA
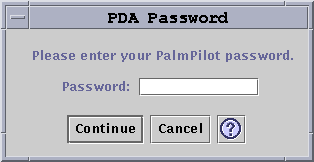
If your organizer has a password, a dialog box asks you for it every time you run the application. If your organizer does not have a password, this dialog does not appear. Refer to the following figure.
Figure 22-19 Assigning Your PDA a Password
Checking Status
The status area contains information about the current operation. This information includes status or prompt text, an animated graphic that indicates that an operation is in progress, and a progress bar that shows estimated progress during a sync operation.
Figure 22-20 Checking Synchronization Status
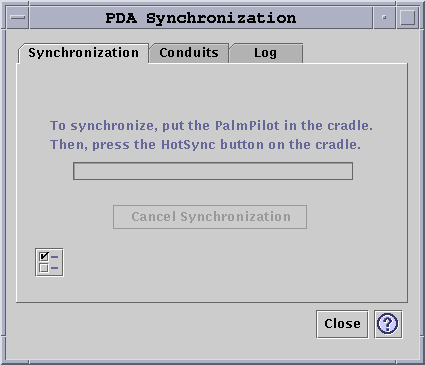
The progress bar is not displayed unless a sync or install operation is in progress. Choosing Cancel Synchronization pauses the sync operation and brings up a confirmation dialog box. If you choose the Cancel button, the sync is aborted. If you choose Continue, the sync operation continues.
Completion of a sync operation is indicated by an audio signal. If the "Iconify application window after synchronization" option is checked in Application Properties, the window minimizes itself to an icon automatically upon completion of sync.
Note - To cancel synchronization click on the Cancel button.


